How to create your first QR code
Updated September 19, 20264 min read
A QR code is only useful if it scans on the first try and still points somewhere sensible next year. This guide walks through the four steps of the Qreator editor and flags the two decisions that are hard to undo once the code is printed.
1. Choose what the code should do
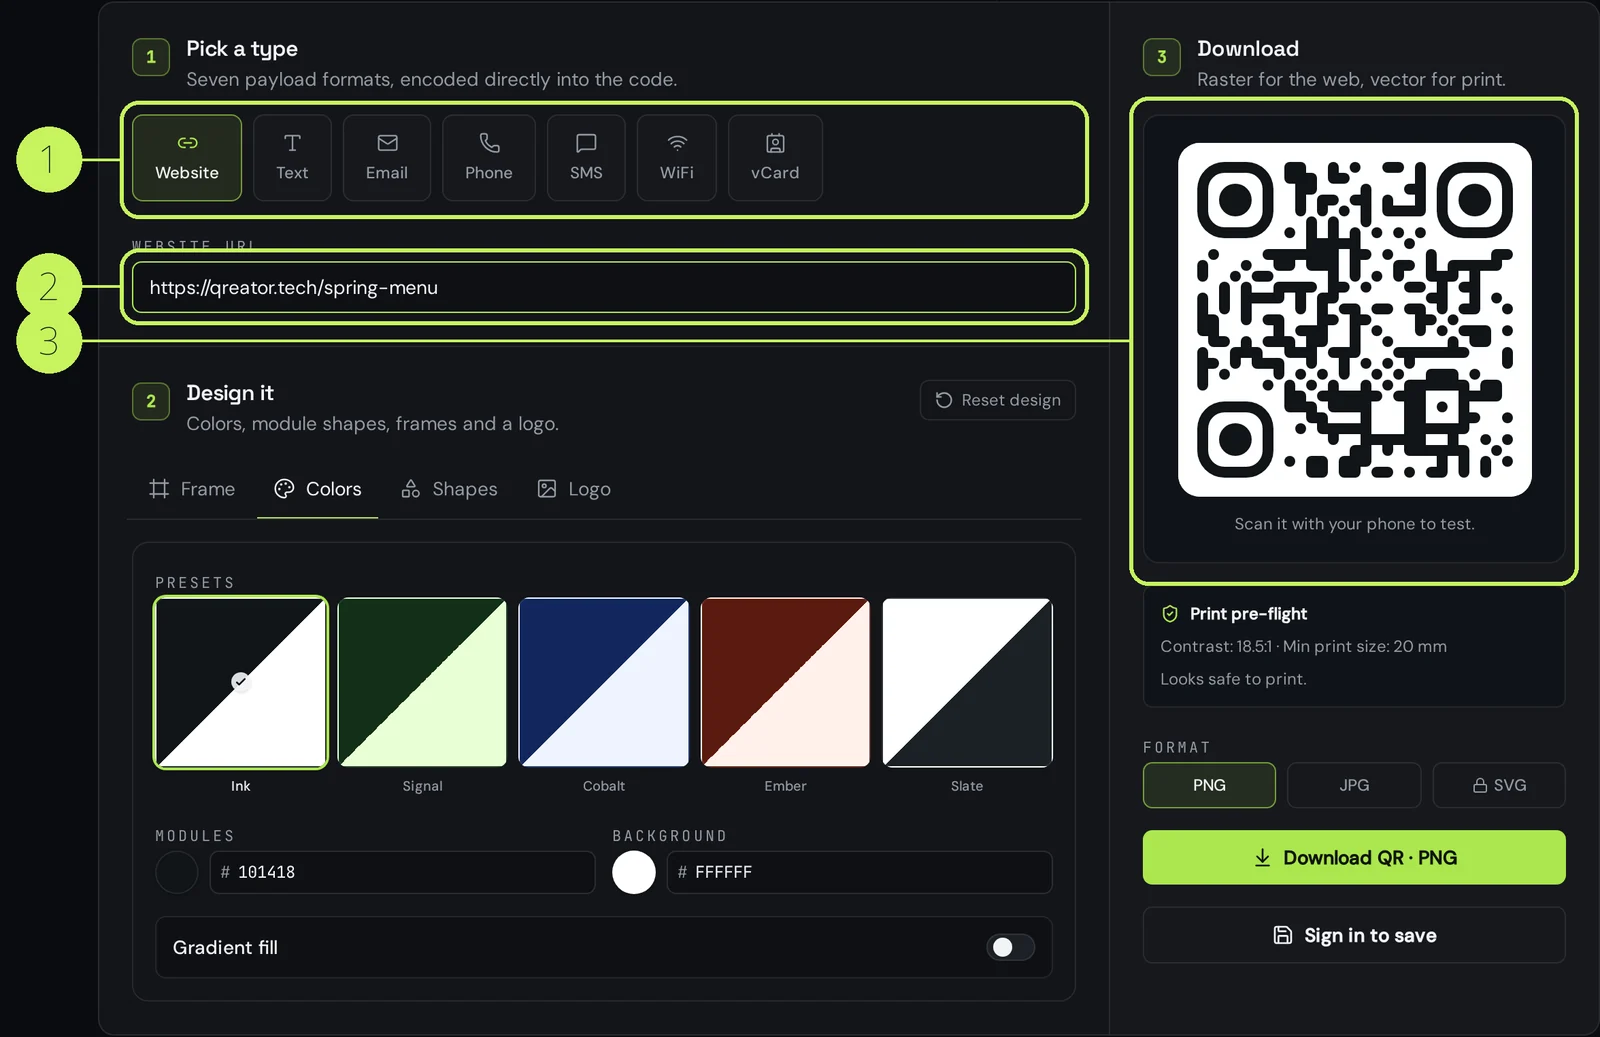
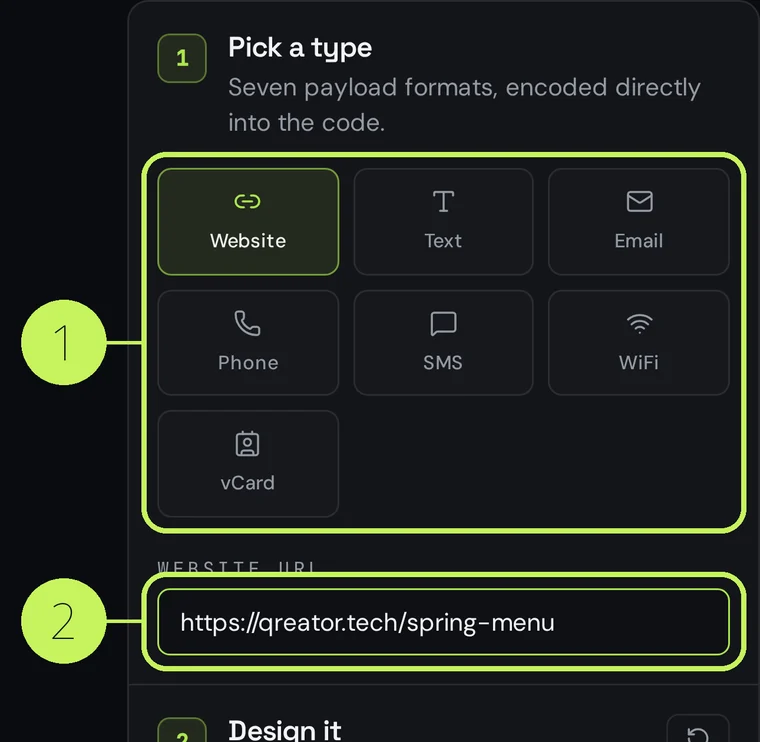
Open the generator and pick a content type: a link, a vCard, Wi-Fi credentials, plain text, an email or a phone number. The type decides what a phone does after the scan — a link opens the browser, a vCard offers to save a contact, Wi-Fi joins the network without typing a password.
2. Decide between static and dynamic
A static code stores your content inside the pattern itself: it works forever, needs no server, and cannot be changed or measured. A dynamic code stores a short Qreator link that redirects to your destination, so you can edit the target and see scan statistics.
| Static | Dynamic | |
|---|---|---|
| Editable after printing | No | Yes |
| Scan analytics | No | Yes |
| Works if the service disappears | Yes | No |
| Best for | Wi-Fi, vCard, one-off prints | Campaigns, packaging, menus, signage |
3. Design it without breaking it
Colours, corner shapes and a centre logo are safe within limits. Keep the foreground clearly darker than the background, never invert light-on-dark unless you test it, and leave the automatic margin in place — scanners use that empty band to locate the code.
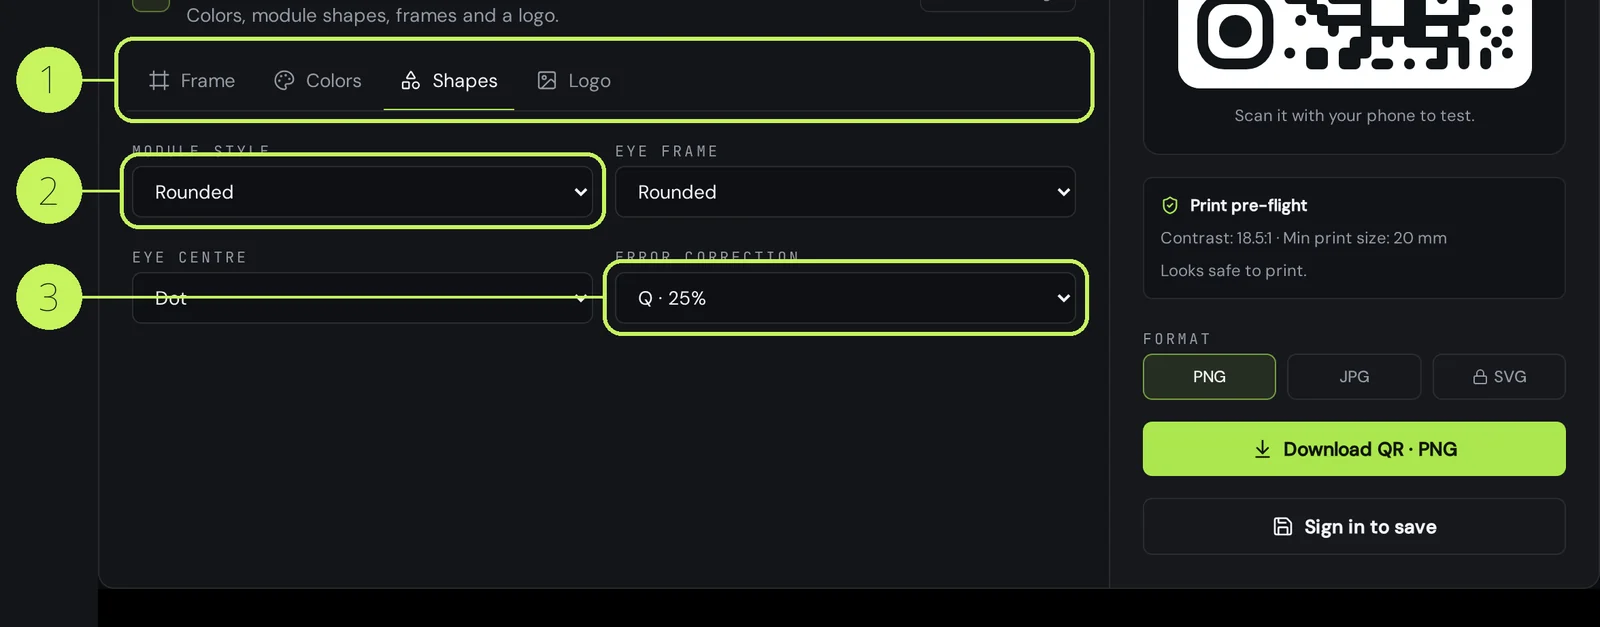
- Contrast: aim for a strong dark-on-light difference; the editor warns you when it drops too low.
- Logo: keep it centred and under roughly a fifth of the width.
- Error correction: raise it when the code will be printed on fabric, curved packaging or anything that scuffs.
4. Download and save it to your account
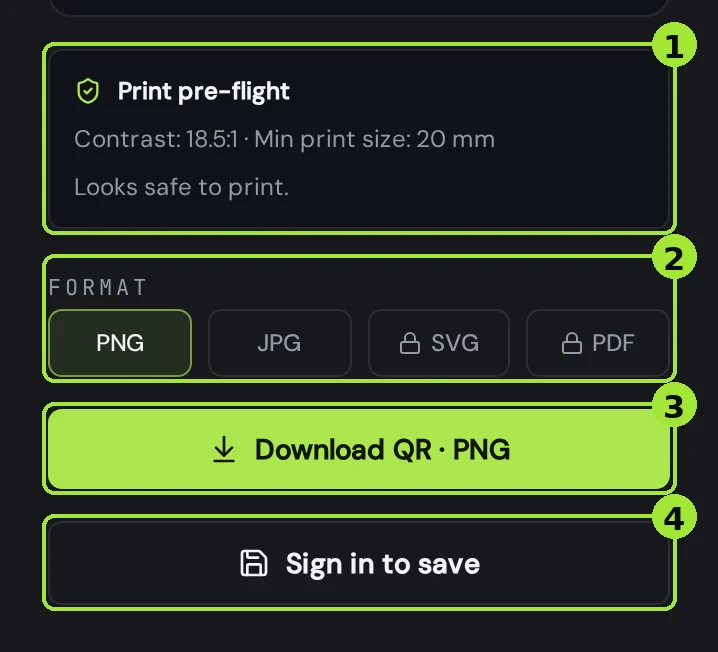
- Export SVG or PDF for print — both are vector and stay sharp at any size; the PDF comes out at the exact millimetre size you pick. PNG and JPG are for screens.
- Save the code to your account so it keeps its name, design and history.
- Scan it yourself from the final material, not from your screen, before ordering a print run.
Frequent questions
- Do I need an account to create a QR code?
- No. The editor works without signing in. An account is only required to save a code, edit a dynamic destination or see scan analytics.
- Which file format should I send to a printer?
- SVG or PDF. Both are vector, so they stay sharp at any size — which matters because print size drives whether the code scans. Choose the PDF when the file goes straight to a print shop: it is generated at the exact millimetre size with a quiet-zone margin. PNG and JPG are for screens.
- Can I change the link later?
- Only if you created a dynamic code. Static codes carry the destination inside the pattern and cannot be edited after printing.
Next steps
- Static or dynamic: which QR code do you need?One decision decides whether you can fix a mistake after printing. Here is how to make it in thirty seconds.
- Your QR code will not scan: the checklistWork down this list in order — the first three causes account for most failures we see.
- How to create a WiFi QR codeThree fields and one download: a code that puts any phone on your network without a password being read out loud. It keeps working when there is no mobile signal at all.
In-depth guides
- Static vs dynamic QR codes: the definitive guideThe difference isn't a marketing tier, it's a difference in what is physically encoded in the pixels — and it decides whether you can ever change the destination.
- How to print QR codes: size, format and best practicesPrinting a QR code is not just about dropping a PNG into a layout. Format, size, contrast and material all decide whether the code scans reliably.